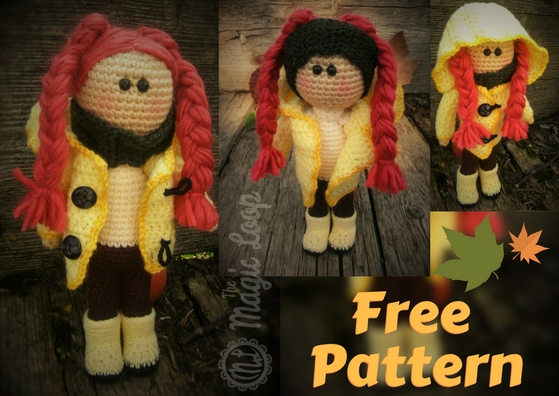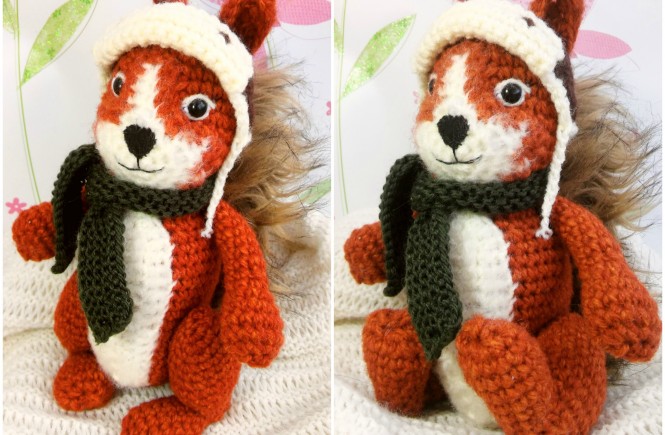

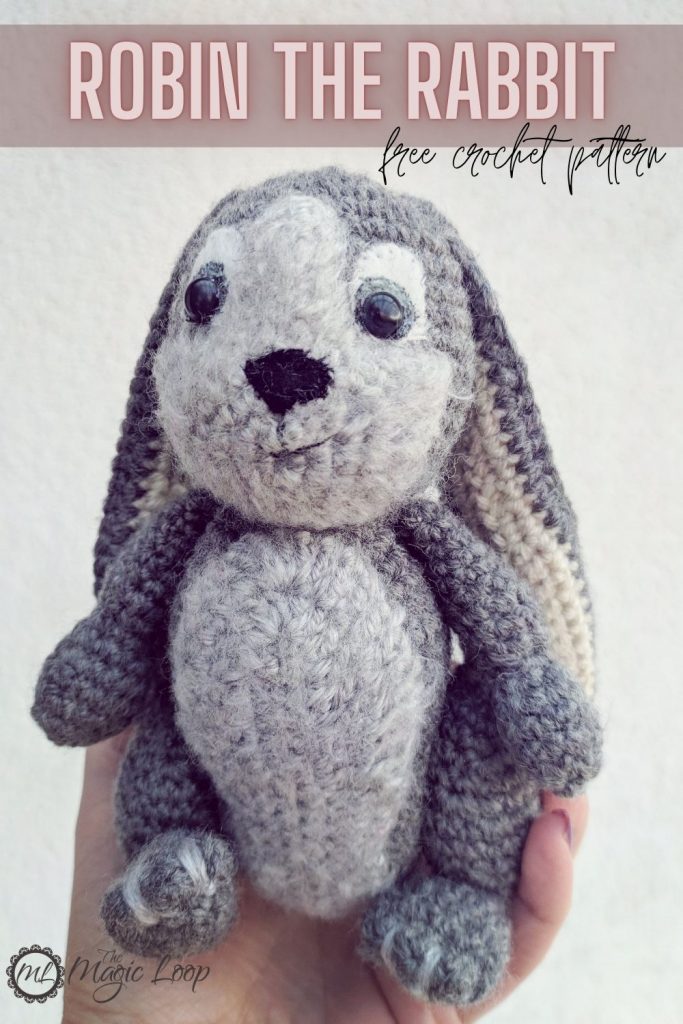
Make your own adorable bunny with this beginner-friendly amigurumi pattern. Make sure to hook this bunny crochet pattern on Ravelry here.
The bunny can sit or stand with his movable legs, and his pom-pom tail is just too adorable. He is 16cm(6,3 inches) tall. His name is Robin and he would like to be your friend!
Materials
- crochet hook 4mm/US G
- aran weight yarn in two contrasting colors
- tapestry needle
- sewing needle and thread
- little pieces of felt for the eyes and the nose
- two buttons (2.5mm in diameter) if you want moveable legs
Abbreviations
ch – chain stitch
sc – single crochet
sc2tog –sc next 2 stitches together
sc2inc – sc2 in next stitch
dc– double crochet
dc2tog – dc next 2 stitches together
dc2inc – dc2 in next stitch
ML – magic loop
slst – slip stitch
hdc – half double crochet
Let’s start
The Body
Worked bottom-up.
1. ML, 6sc (6)
2. (sc2inc) x 6 (12)
3. (sc, sc2inc) x 6 (18)
4. (sc2, sc2inc) x 6 (24)
5. (sc3, sc2inc) x 6 (30)
6. (sc4, sc2inc) x 6 (36)
7. (sc5, sc2inc) x 6 (42)
8. – 16. sc42 around (42)
Now would be a good time to attach buttons to the body.
Sew them on as tight as you can. Preferably between rows 10 and 11. The round begins on the backside of the body. Check the picture on the right.
17. sc2tog, sc2, sc2tog, sc2, sc2tog, sc22, 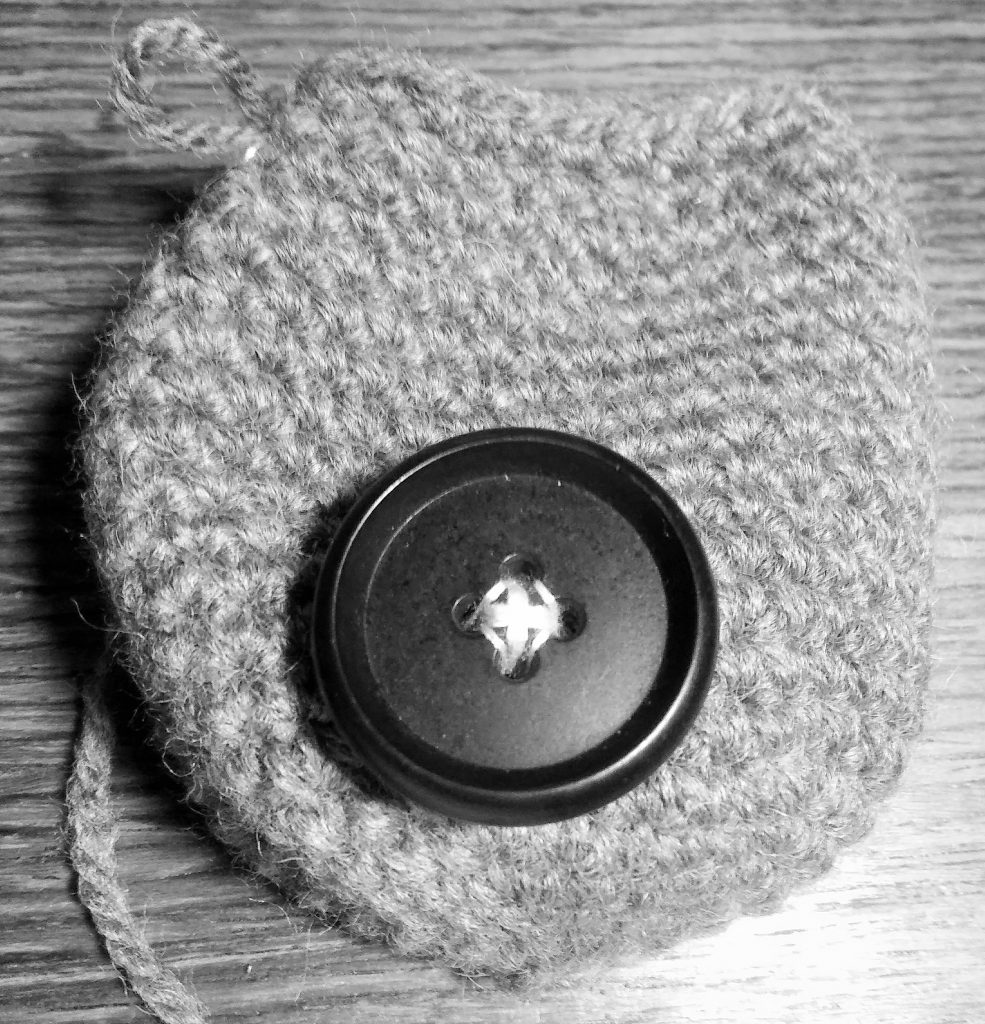 sc2tog, sc2, sc2tog, sc2, sc2tog(36)
18. sc36 around (36)
19. sc2tog, sc, sc2tog, sc, sc2tog, sc20, sc2tog, sc, sc2tog, sc, sc2tog (30)
20. sc30 around (30)
21. (sc3, sc2tog) x 6 (24)
22. sc24 around (24)
23. (sc2, sc2tog) x 6 (18)
24. sc18 around (18)
Fasten off, leave a long tail for sewing.
Stuff the body.
The Legs
Worked top-down.
1. ch4,
2. (in 2nd ch from hook sc2inc), sc, sc3inc, (continue around), sc2 (8)
3. sc3inc, sc3, sc3inc, sc3 (12)
4. sc12 around (12)
5. sc, sc3inc, sc5, sc3inc, sc4 (16)
6. sc16 around (16)
7. sc, sc3inc, sc2, ch3*, skip 3, sc2, sc3inc, sc6
8. sc6, sc3inc in 3ch space, sc11 (20)
9. sc20 around (20) – attach it to the body
10. sc2tog, sc, sc2tog, sc5, sc2tog, sc, sc2tog, sc5 (16)
11. sc around (16)
12. (sc2tog) x 2, sc4, (sc2tog) x 2, sc4 (12) – stuff the leg
13. (sc2tog) x 6 (6) – close the leg, fasten off.
*If your button is too big and can’t fit through the hole you made by ch3 and skipping 3, you should ch4 and skip 4, then sc1 instead of sc2, and in the next row (sc4inc in 4ch space, and sc9) instead of sc3inc and sc10
The Feet
1. sc6 in MC (6)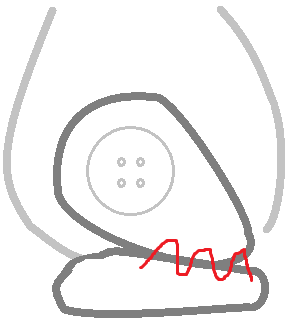
2. sc2inc, sc2, sc2inc,sc2 (8)
3. – 4. sc8 around (8)
5.sc2inc, sc3, sc2inc, sc3 (10)
6. sc10 around (10)
7. sc2inc, sc4, sc2inc, sc4 (12)
8. sc12 around (12)
9. sc2inc, sc5, sc2inc, sc5 (14)
10. sc14 around (14)
11. sc2tog, sc5, sc2tog, sc5 (12) – Stuff it lightly.
12. (sc2tog) x 6 (6) – Fasten off.
The red line shows how to attach the foot to the leg.
If you find that your body and legs are too wide and too far apart, you should take some yarn and a tapestry needle. Insert the needle between the leg and the body, as close to the button as possible, and pull it through the body so that it exits near the other leg. Pull the yarn to tighten the body.
The Front Legs/Arms
Worked top-down.
1. ch9 and join (9)
2. – 10. sc9 around (9)
11. sc3, (sc2tog) x 3 (6)
12. (sc, sc2inc) x 3 (9)
13. (sc2, sc2inc) x 3 (12)
14. (sc3, sc3inc) x 3 (15)
15. sc15 around (15)
16. (sc3, sc2tog) x 3 (12)
17. (sc2tog) x 6 (6)
Stuff it lightly. Close the leg and fasten off.
The Belly
Worked with contrasting yarn.
1. ch17 (17)
2. (in 2ndch sc2inc),
sc14, sc3inc, sc15 (34)
3. sc3inc, sc9, hdc, dc6,
dc5inc, dc6, hdc, sc9 (40)
4. sc, sc3inc, sc9, hdc, dc9,
dc5inc, dc9, hdc, sc8, slst(46)
Fasten off, leave a lon壯陽藥
g tail for sewing.
The Face
Worked with contrasting yarn, like the belly.
1. sc6 in MC (6)
2. (sc2inc) x6 (12)
3. (sc, sc2inc) x6 (18)
4. ch3, in 2ndch from hook sc1, in 3rdch sc1, sc3, ch6, sc5 down the chain, sc3, ch3, sc2 down the chain, sc12
5. sc2, sc3inc in the top stitch, sc2 down the chain, skip1, sc1, skip1, sc5, sc3inc in the top stitch, sc5 down the chain, skip1, sc1, skip1, sc2, sc3inc in the top stitch, sc2 down the chain, skip1, sc11, slst. (40)
fasten off and leave a long tail for sewing.
The Head
1. MC, 6sc (6)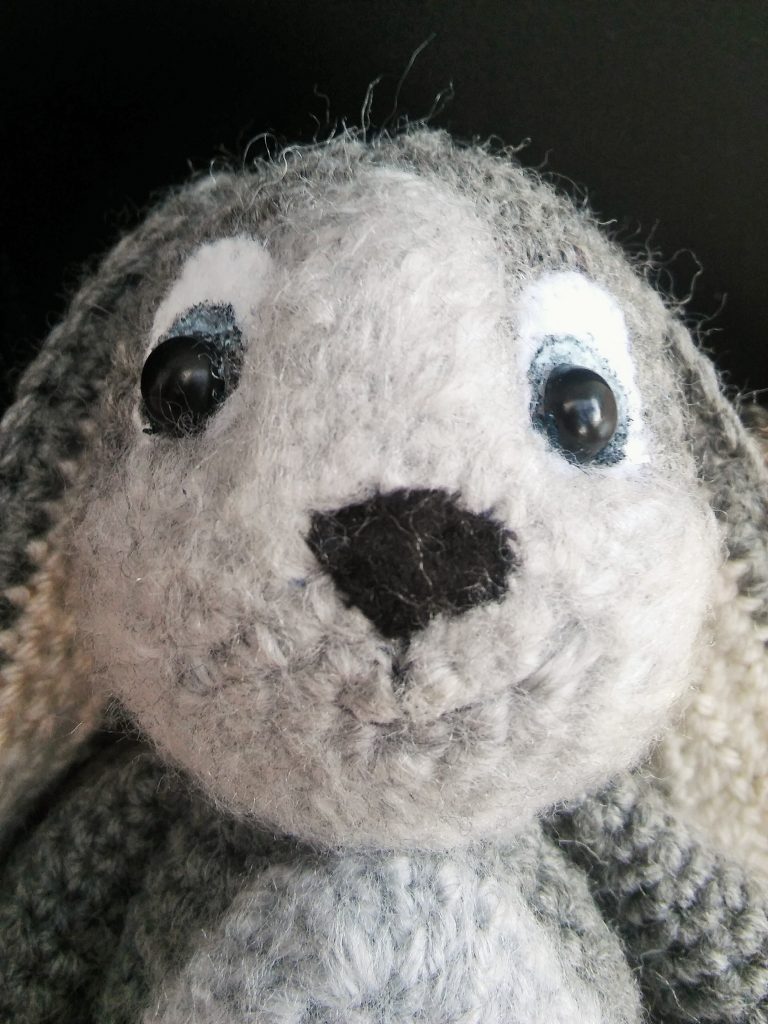
2. (sc2inc) x 6 (12)
3. (sc, sc2inc) x 6 (18)
4. (sc2, sc2inc) x 6 (24)
5. (sc3, sc2inc) x 6 (30)
6. (sc4, sc2inc) x 6 (36)
7. – 14. sc36 around (36)
If you want to place the safety eyes now would be the time. Take the front part of the head you made earlier and use it as a guide where your eyes should be. Take a look at the picture on the right.
15. (sc4, sc2tog) x 6 (30)
16. (sc3, sc2tog) x 6 (24)
17. (sc2, sc2tog) x 6 (18)
18. (sc, sc2tog) x 6 (12)
19. (sc2tog) x 6 (6)
Stuff the head, close it. Fasten off and leave a long tail.
The Ears
Make two parts, one for the outside, the other for the inside. 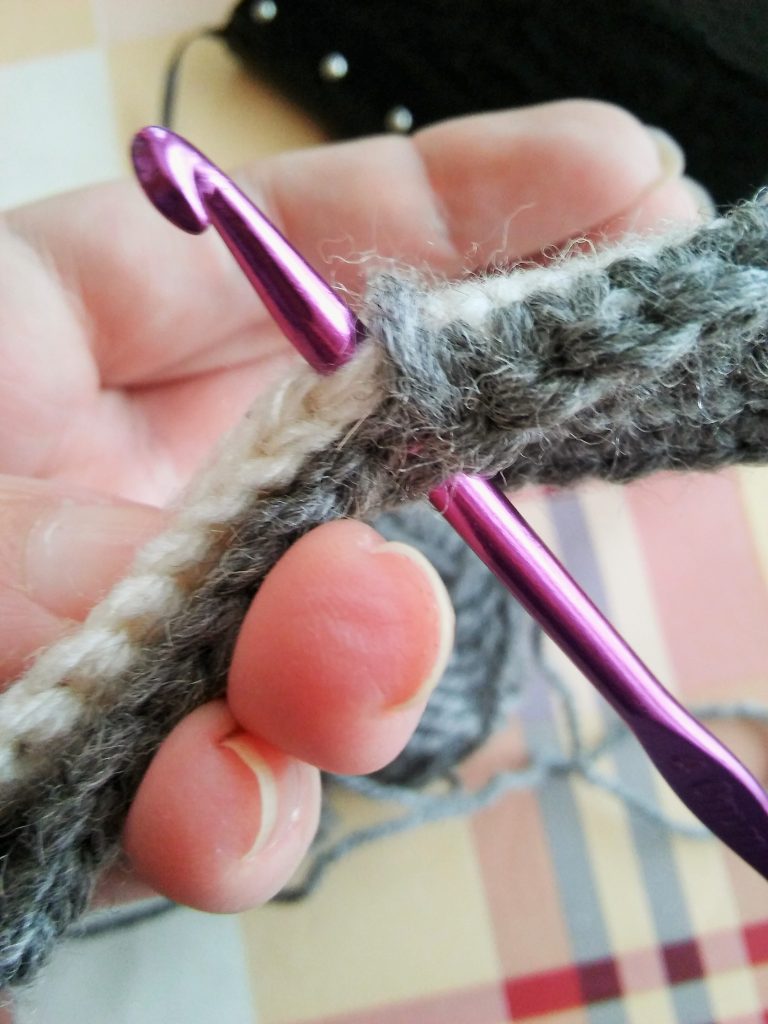 When you make the outside one, don’t cut the yarn, keep using it.
1. ch25 (25)
2. in 2ndch from hook sc2inc, 14sc, hdc, 7dc,
dc5inc in last ch, 7dc, hdc, sc15 (52)
3. sc3inc, sc24, (sc3inc) x 3, sc24, slst. (60)
Now, take an inside and an outside part, put them
together back by back, and sc around both parts together.
Check the picture on the right.
That’s it!
f you have any questions or comments, feel free to contact me in the comments section of this post, on my Facebook page, or by email at contact@themagicloop.com. Also, if you make Robin the Rabbit, send me some pictures, I’ll share them on my Instagram. You can tag me on Instagram @themagicloop.
Please do not claim this bunny crochet pattern as your own. Do not sell or share this pattern or parts of this pattern. You may sell finished items made from this pattern, but please clearly credit the design to me and provide a link to my blog www.themagicloop.com.